Nowadays, we developers are so lazy that coding becomes stressful and annoying, but what if there is a way to lessen the pain? I bet that y’all have a “superscript” that can do everything that is needed while you are doing other work.
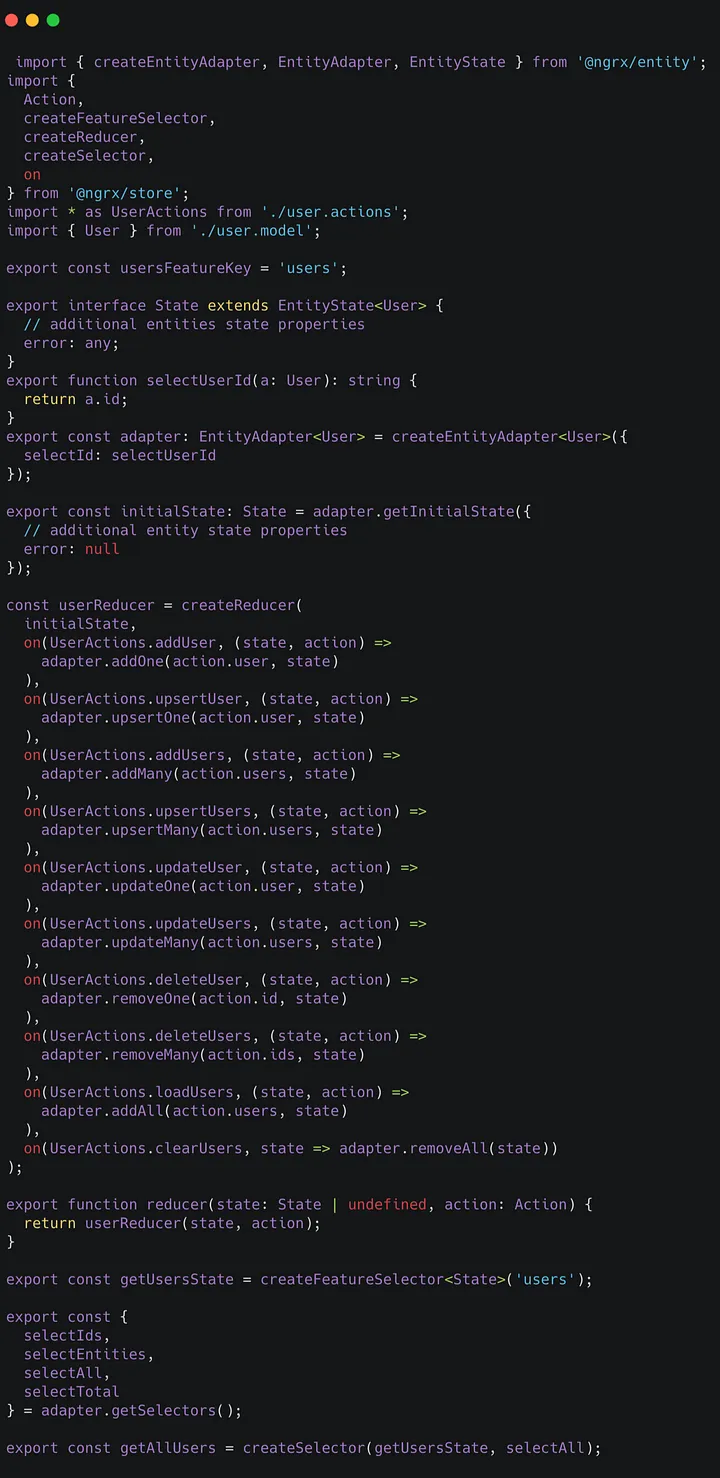
Today, I will share my experience of using Angular Schematics combined with NgRx Schematics and touch some of the NgRx topics like Store, Entity, and Effects.
What Are Schematics?
Schematics are simple commands for generating different parts of the source code faster by using a specific pattern.
- E.g.: Create components —
ng generate component user-list. - E.g.:
ng generate module user.
Above you see the very basic Angular schematics. For more options and details refer to the Angular CLI.
Why Are Schematics Good?
The Angular framework has strict rules (MVC), so there is no point over-minding the structure. This is where schematics are helpful — they do pretty much the same as devs; write code, but faster.
If the developer knows the command-line interface well enough and uses it to type code, they will complete the setup of a new project pretty fast and use the time left for more complicated things.
Main App
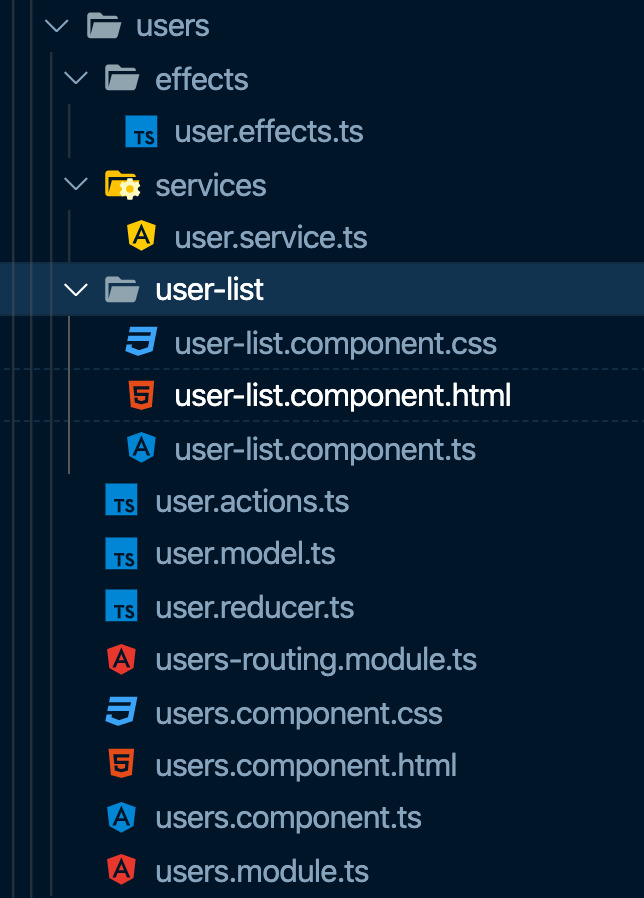
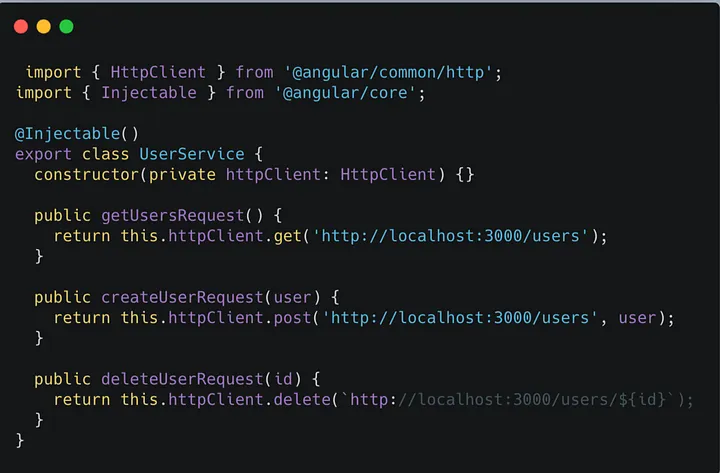
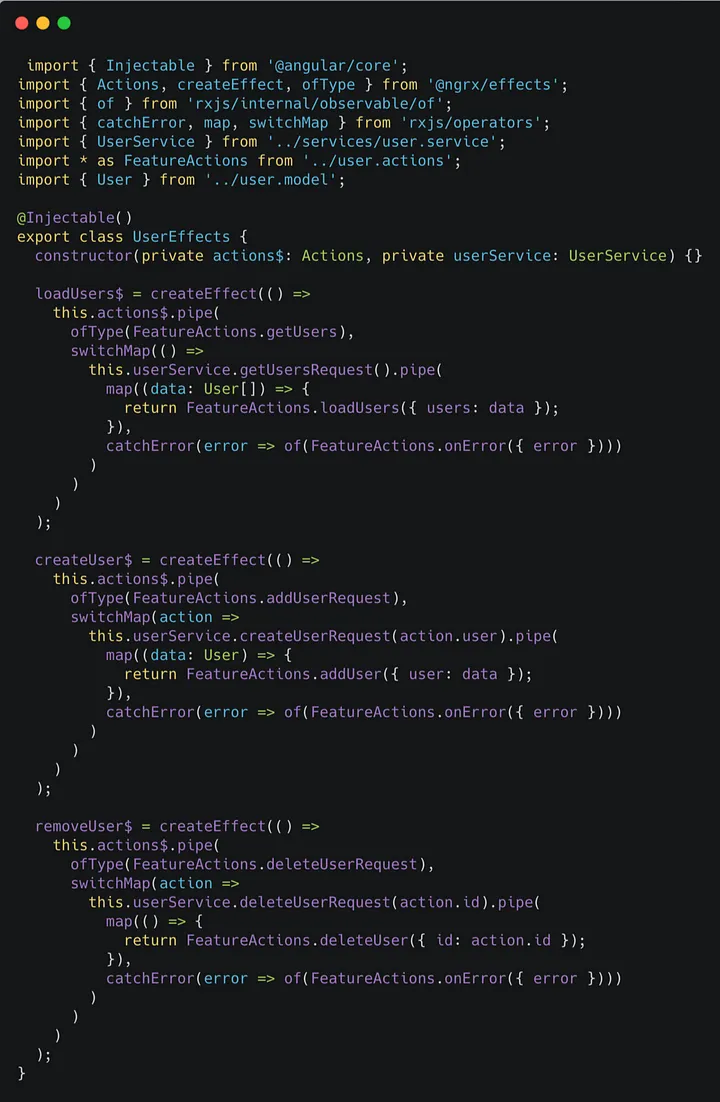
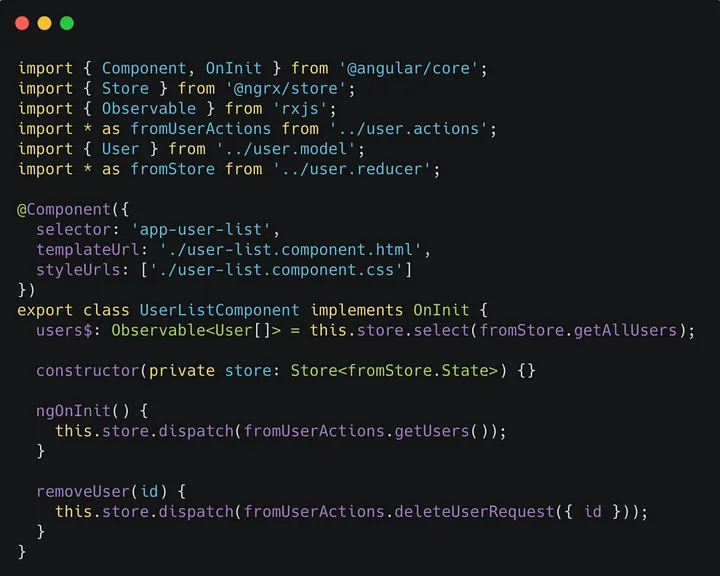
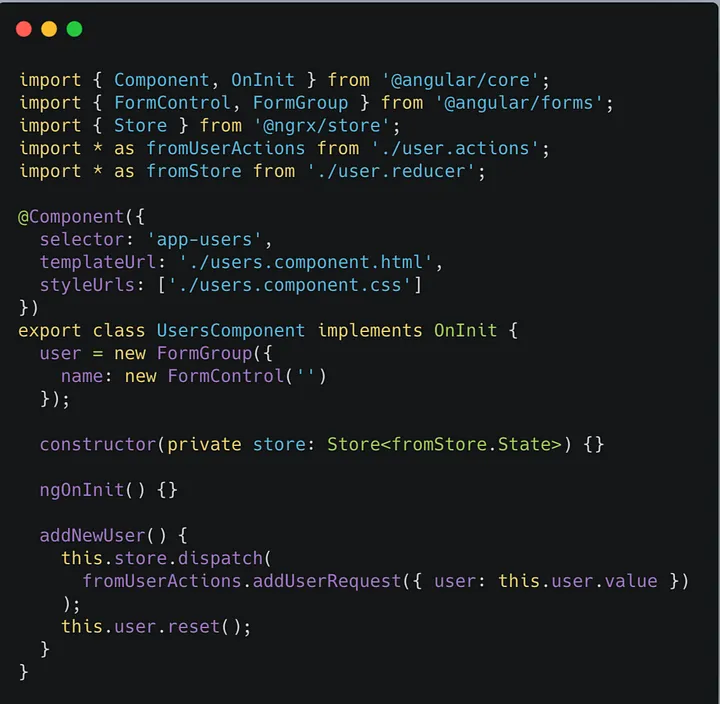
I will introduce a simple application that will have Create, Read, and Delete using NgRx and which was mostly created using Angular/NgRx Schematics.
I should mention that this application was made very quickly and was meant to show how easy it is to create a simple CRUD with less effort.
Why NgRx?
- It is convenient.
- It makes you build a readable structure.
- It has schematics that will generate 70% of the code for you.

